- 1. If you don’t have a Google account yet, please create one. If you already have a Google account, skip this step.
- 2. Click on the following link: Google APIs
- 3. Sign in to your Google account
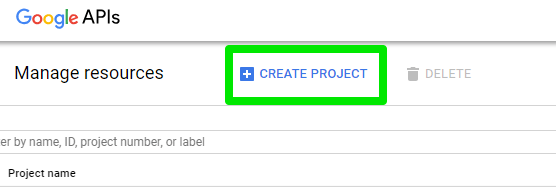
- 4. Click on + Create Project
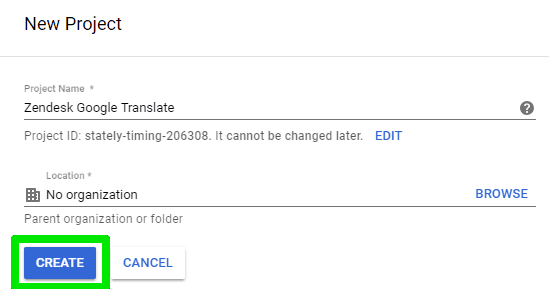
- 5. Enter the Project name & click Create
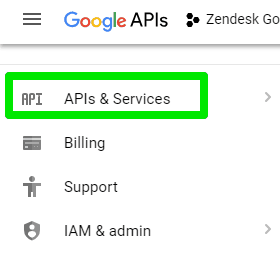
- 6. Click on the Navigation menu

- 7. Then click on APIs & Services
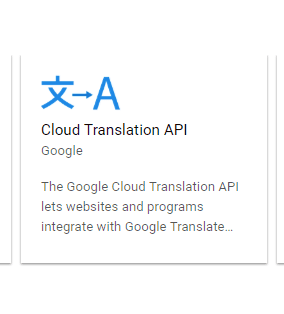
- 8. Now you will see Popular APIs and services
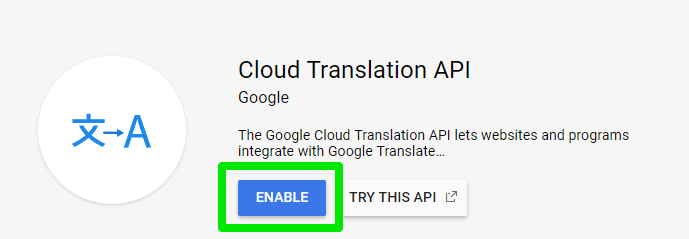
- 9. Click on Cloud Translation API
- 10. Click on Enable
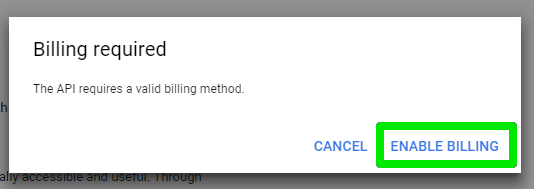
- 11. A pop up will open & will ask you for a valid billing method. Simply click on Enable Billing
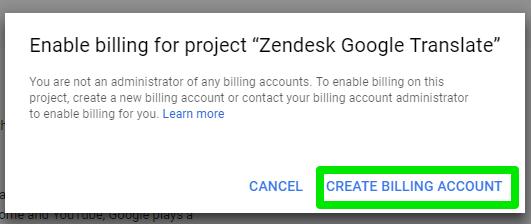
- 12. Now click on Create Billing Account
- 13. Fill in the form & then click on Start my free trial
- 14. Click on the Navigation menu again & choose APIs and services & enable Google Translation API
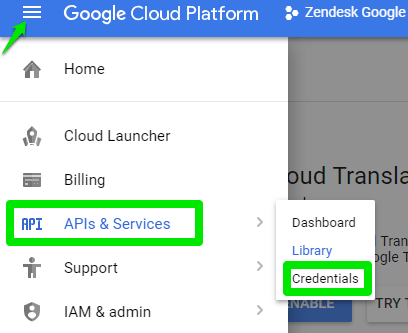
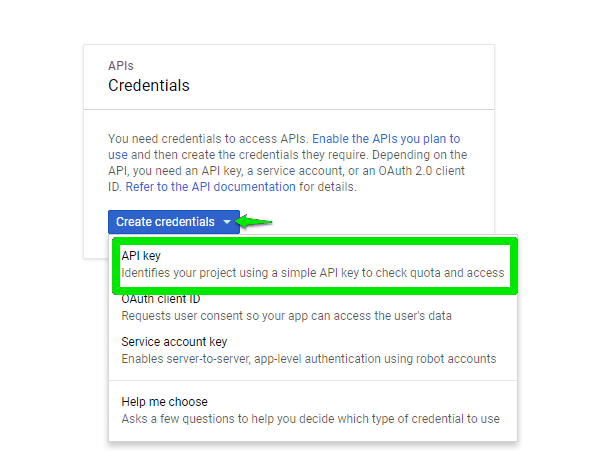
- 15. Next click on Credentials
- 16. Click on API Key
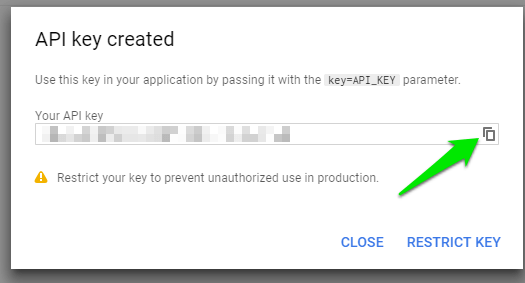
- 17. Your API Key will be created. Click on the icon to copy it as shown below.
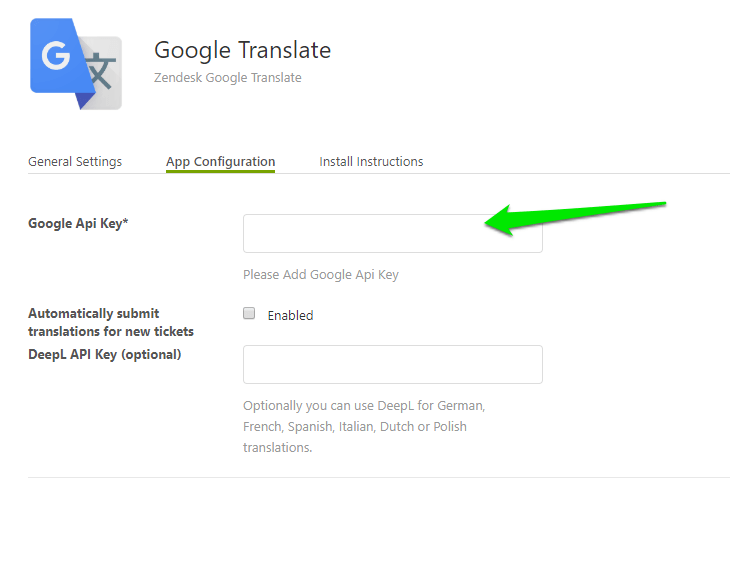
- 18. In Zendesk Apps Settings click on App Configuration & enter your Google Api Key
- 19. “Allowed Languages”:
Please add the languages you want to be available for translation in the following format format using ISO 639-1 codes from: https://en.wikipedia.org/wiki/ListofISO639-1codes e.g. ‘de’ => ‘German’, ‘it’ => ‘Italian’
- 20. If you are on the Growth, Professional and Enterprise, make sure you also enable these languages in https://your-domain.zendesk.com/agent/admin/account => Localization => Additional Languages.
- 21. “Agent working language”:
The language customer tickets should be translated to – this is your language/the language you are working in.
Allowed language codes can be found here (use the 2 letter code ONLY): https://cloud.google.com/translate/docs/languages
- 22. “Agent working language is agent locale” checkbox:
If you have agents speaking different languages, check this if the customer tickets should be translated to the current agent’s language. - Now the app is ready to use
“Google Translate” is a trademark of Google LLC.